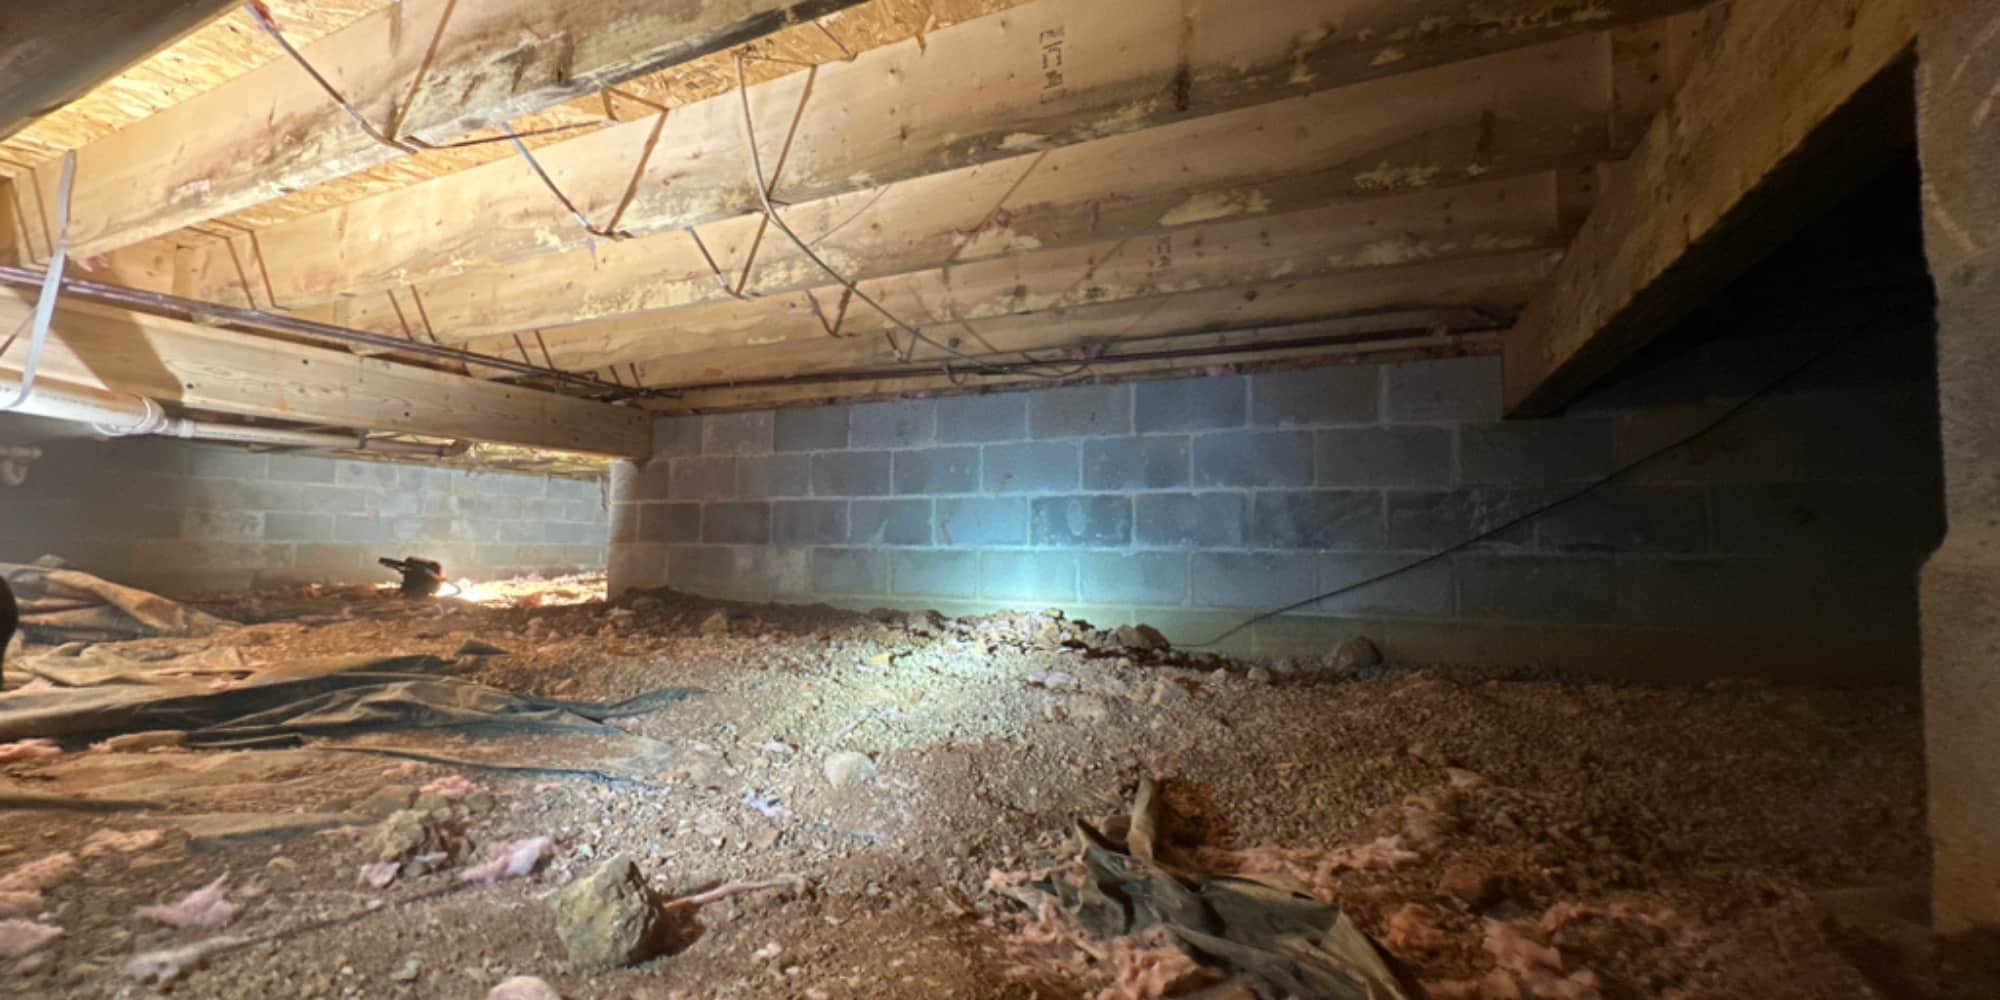
A crawl space is easy to ignore because it is out of sight, but it plays a direct role in your home’s air quality, energy bills, and structural health. In Florida’s high humidity and sandy soil, small issues such as trapped moisture or a cracked vent cover can turn into bigger problems fast if nobody is checking.
This crawl space inspection checklist walks you through exactly what to look for beneath your home, what counts as normal, and what signals a problem that warrants calling a professional. A few minutes with a flashlight twice a year, or right before and after storm season, can catch issues while they are still cheap and easy to fix.
Key Takeaways
- Florida homes typically sit on a slab foundation or on a crawl space, and both require regular inspections even without a basement.
- Look for moisture in the crawl space, pest infestations, water pooling, cracks, musty odors, and damaged insulation or vapor barriers.
- Some wear is normal; excessive moisture, active leaks, structural cracks, or pest colonies are not.
- A quick inspection twice a year, or before and after storm season, helps prevent costly repairs by catching problems while they’re still inexpensive to fix.
Why Crawl Space Inspections Matter in Florida
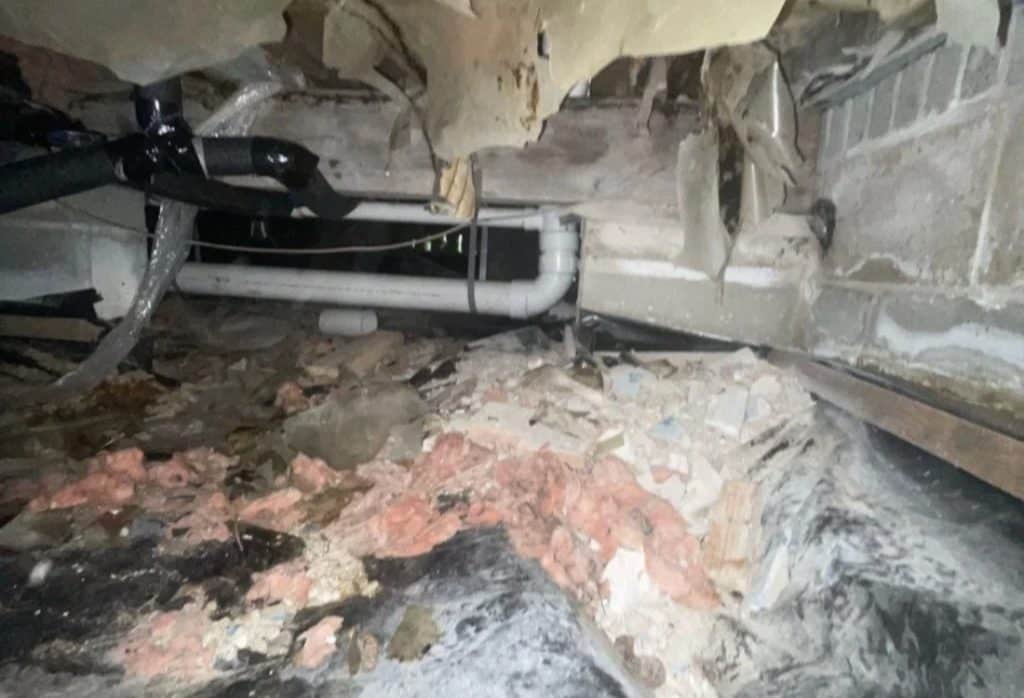
Florida’s year-round humidity and frequent heavy rain can create ongoing problems for your home. Relative humidity sits high for most of the year, sandy soil drains unevenly during heavy rain, and hurricane season brings sustained moisture that can sit under your home for days. A damp crawl space can look fine on the surface while still holding onto trapped, humid air, feeding mold growth and the spread of mold spores, or inviting termites and other pests that thrive in dark conditions.
These problems can gradually worsen if they aren’t addressed. Moisture can weaken wood framing, while pests may cause costly structural damage. Humid air can also enter your living space, increase energy bills, reduce indoor air quality, and contribute to health concerns. In homes where a sump pump is handling crawl space water on top of everything else, prolonged moisture exposure also raises the risk of that system failing right when you need it most.
How Often Should You Inspect Your Crawl Space
A crawl space inspection checklist only works if you actually run through it on a regular schedule. Think of it as a seasonal maintenance checklist built around storm season. Once or twice a year is enough for most Florida homes, ideally before and after hurricane season when humidity and rainfall peak.
If you’ve had issues before or live somewhere with a history of standing water or pest activity, check closer to twice a year rather than once. A few situations call for an inspection outside your regular schedule:
- After a major storm or period of heavy, sustained rain.
- If you notice a musty smell inside the house, especially near floor vents.
- Before buying a home, as part of a standard home inspection, or shortly after moving in.
- If your energy bills jump without an obvious cause.
If anything on this checklist raises a warning sign, a professional inspection is the next step, which is covered in more detail below.
The Crawl Space Inspection Checklist
Here’s the full crawl space inspection checklist at a glance, with the detailed breakdown for each item below.
| Inspection Area | What to Look For | Why It Matters |
|---|---|---|
| Moisture and Dampness | Damp soil, condensation, water stains | Prevents mold and wood rot |
| Pests | Mud tubes, droppings, nesting material | Avoids structural and health damage |
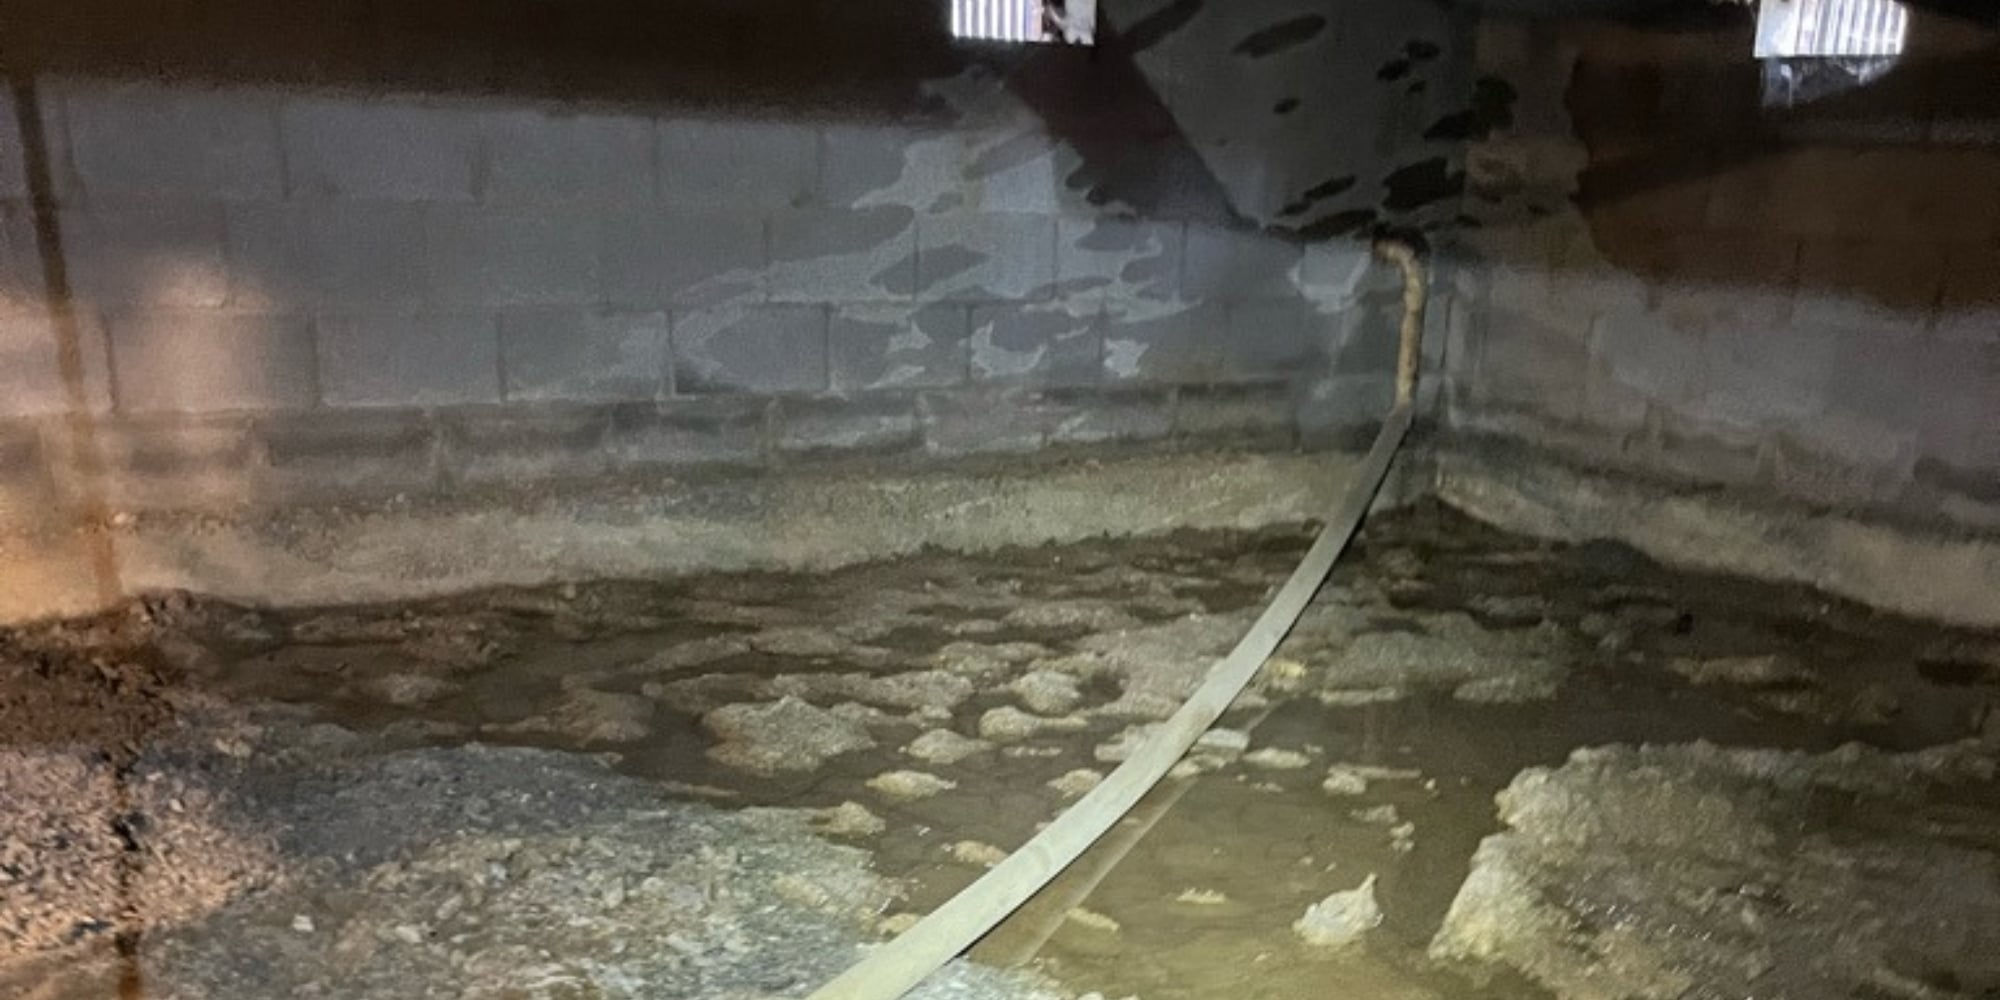
| Water Accumulation | Standing water, puddling near piers | Signals a drainage issue |
| Cracks and Structural Signs | Horizontal or widening cracks | Protects foundation stability |
| Musty Odor | Strong, persistent smell | Early warning before visible damage |
| Insulation and Vapor Barrier | Sagging, torn, or missing material | Maintains your main moisture defense |
| Floor Levelness and Support Posts | Leaning posts, bouncy floors | Carries your home’s structural weight |
| Vents and Ventilation | Damaged vents | Controls how much moisture builds up |
| Wood Framing | Soft, discolored, or hollow-sounding wood | Indicates long-term structural health |
| Radon | Test result above 4 pCi/L | Invisible gas, testing is the only way to know |
| HVAC and Ductwork | Gaps, rust, disconnected sections | Affects comfort and energy bills |
| Access Points and Hatches | Gaps, poor seal, pest entry | Protects everything else on this list |
1. Check for Moisture and Dampness
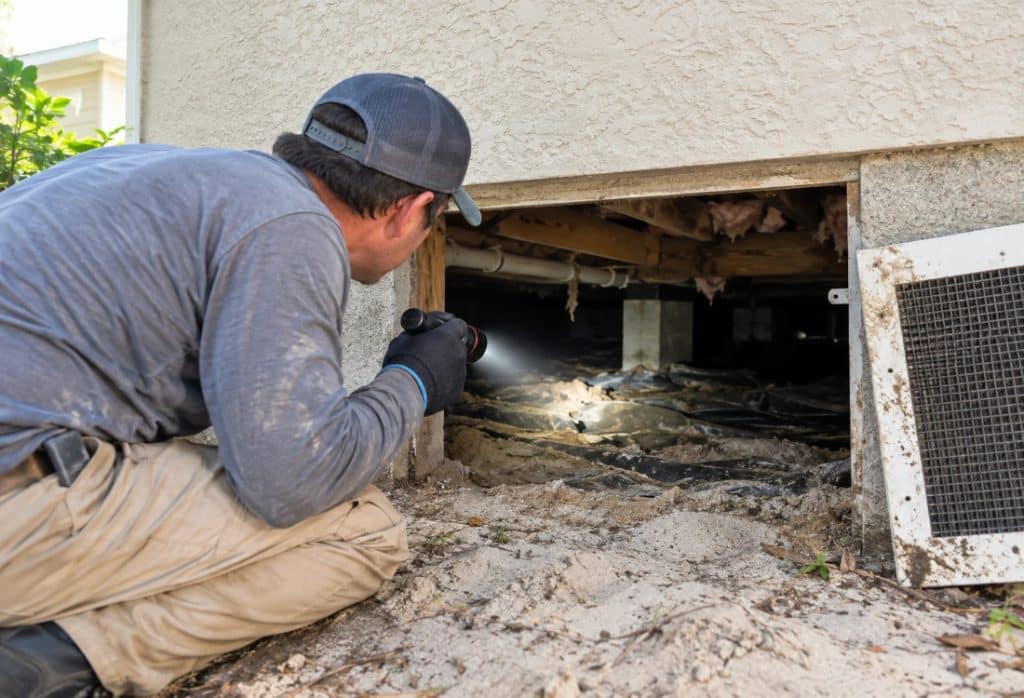
Grab a flashlight, check the soil for ground moisture, and check any exposed surfaces under your home. Some humidity is normal in an unfinished, unconditioned space, especially in Florida, so you’re not looking for a bone-dry environment. You’re looking for the difference between ambient dampness and active water intrusion.
- Normal: slight humidity, no standing water, no condensation forming on pipes or ductwork.
- Warning signs: a damp or wet crawl space, condensation beading on surfaces, water stains on framing or insulation, a visibly soggy vapor barrier
2. Inspect for Pests
Look along the foundation walls, support posts, and any wood framing for signs of activity. A few insects moving through is common and not worth worrying about. Look for signs of an infestation or for openings pests repeatedly use to get inside.
- Normal: occasional, isolated insect activity.
- Warning signs: termite mud tubes, large pest infestations, signs of rodents, shredded insulation or chewed wood, nesting material
3. Look for Water Accumulation and Drainage Issues
Check low points in the crawl space and near your piers or support posts, especially after a recent rain. Water sitting where it shouldn’t is one of the clearest signals that something outside your home, like grading or drainage, isn’t doing its job.
- Normal: dry or lightly damp soil after rain
- Warning signs: water pooling around piers or support posts, flood marks on the soil, or ground that remains soaked for several days after a storm.
4. Examine Cracks and Structural Signs
Walk the foundation walls and any visible concrete and look closely at the direction and width of any cracks you find. Not every crack means trouble, so this is about learning to tell a cosmetic one from a structural one.
- Normal: hairline cracks in concrete that don’t widen over time
- Warning signs: horizontal or diagonal cracks, cracks wider than a quarter inch, cracks that appear to be growing, gaps between support posts and the beams they carry
5. Smell for Musty Odor
Pay attention to what you smell, both under the home and near floor vents inside the house. A musty smell can develop before you notice any visible damage, so pay attention to unusual odors.
- Normal: a faint earthy smell typical of an enclosed space
- Warning signs: a strong, persistent musty odor, especially one that’s noticeable from inside the house near floor vents
6. Assess Insulation and Vapor Barrier Condition
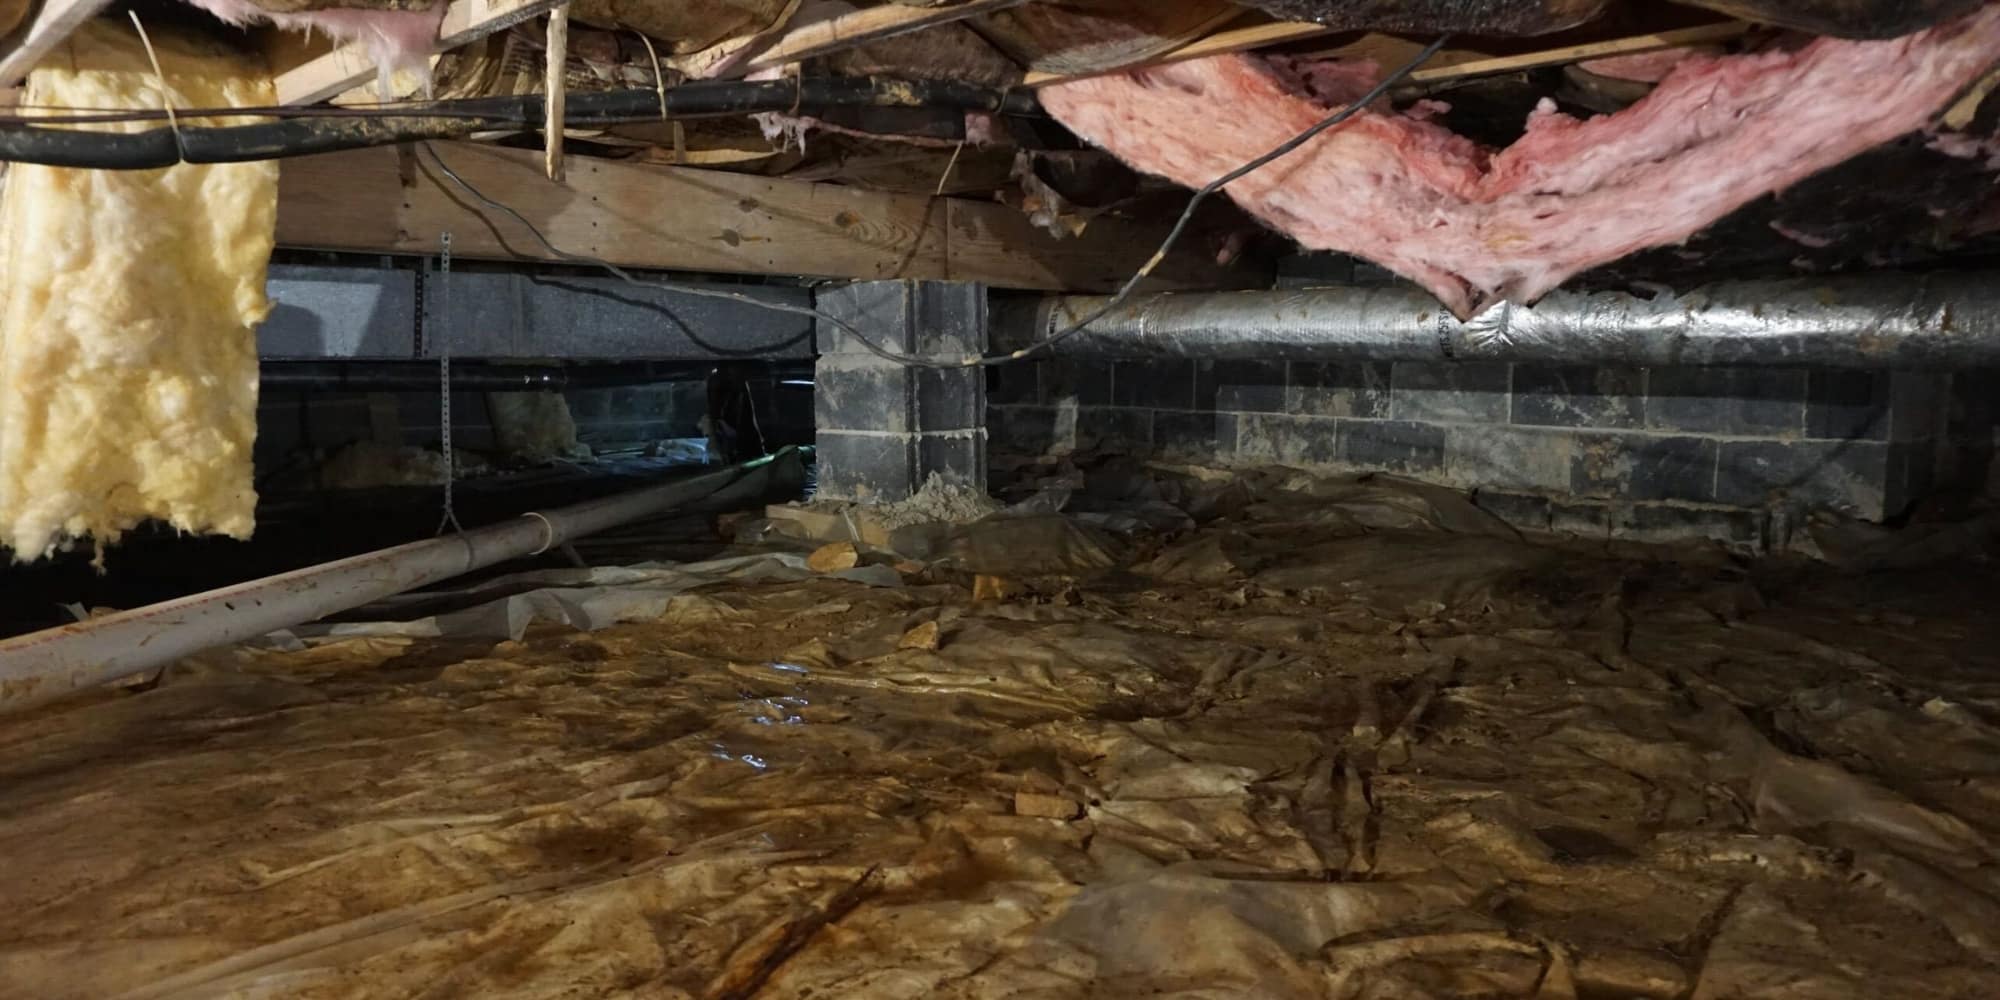
Check that your insulation is still in place and dry, and that the vapor barrier covering the ground is intact. These two materials are your main line of moisture control against water working its way up into your home.
- Normal: insulation intact and dry, vapor barrier sealed with no visible tears.
- Warning signs: sagging, falling, or missing insulation; visible mold on insulation; a torn, displaced, or otherwise compromised vapor barrier; gaps around seams or penetrations.
7. Check Floor Levelness and Support Posts
If your floors have felt bouncy or uneven lately, this is where to look for the cause. Support posts carry the weight of your home, so any shifting here shows up as a problem upstairs.
- Normal: firm wood surfaces with no discoloration or soft spots
- Warning signs: leaning or sinking posts, gaps between a post and the beam above it, noticeably sagging or springy floors
8. Inspect Vents and Ventilation
Walk the perimeter of your home and check that vents are clear and functioning as your system is designed to work, whether it’s sealed or vented. How your crawl space breathes directly affects how much moisture it holds onto.
- Normal: vents clear of debris and functioning as designed for your system
- Warning signs: blocked or damaged vents, vents stuck open or closed when they shouldn’t be, signs of pest entry around vent openings
9. Check Wood Framing for Rot
Press gently on the wood floor joists and beams closest to the ground, since they’re the most exposed to moisture. This is the one step that’s easy to skip but tells you the most about long-term structural health.
- Normal: firm wood with no discoloration or soft spots.
- Warning signs: soft or spongy wood when pressed, dark staining, visible fungal growth, a hollow sound when tapped
10. Test for Radon
Radon is a naturally occurring gas that seeps up from soil, and it’s invisible and odorless, so this is the one item on this list you can’t check with a flashlight. It’s worth testing even if everything else looks fine.
- Normal: no action needed beyond periodic testing, most homes test within a safe range.
- Warning signs: a test result above 4 picocuries per liter, which means mitigation is recommended
A radon test kit costs a few dollars at any hardware store. Place it in the crawl space for the duration listed on the kit, usually a few days to a few months, then send it to the lab noted on the packaging for results.
11. Check HVAC and Ductwork Condition
If your HVAC system or ducting runs through the crawl space, its condition down there affects your comfort and can help improve energy efficiency upstairs. Leaky ducts or other air leaks let conditioned air escape into the crawl space rather than reach your rooms.
- Normal: ducts are intact, insulation is in good condition, joints are sealed, and equipment has no visible rust or heavy dust buildup.
- Warning signs: gaps or loose duct connections, rust on equipment, or energy bills that have gone up for no obvious reason.
12. Check Access Points and Hatches
Your crawl space’s entry point is easy to forget about since you only use it during an inspection, but a poorly sealed hatch undermines everything else you’re checking for.
- Normal: hatch closes fully, seals tightly, and shows no gaps around the frame.
- Warning signs: a hatch that doesn’t close flush, visible daylight or gaps around the edges, signs of pests entering through the opening.
A loose or poorly sealed access point lets in the same moisture, pests, and outside air you just spent the rest of this checklist checking for, so it’s worth a quick look on your way out.
When to Call a Professional for a Crawl Space Inspection
Most of what’s on this crawl space inspection checklist is safe for homeowners to check themselves twice a year, but certain findings are best left to a professional rather than a DIY fix. Call a crawl space professional if you see any of the following:
- Standing water or soil that stays saturated for days after rain.
- Visible mold growth on wood, insulation, or walls.
- Soft, spongy, or hollow-sounding wood framing.
- Cracks that are horizontal, diagonal, or wider than a quarter inch.
- Leaning or sinking support posts.
- A radon test result above 4 picocuries per liter.
- A strong musty odor that doesn’t improve after airing out the space.
Minor issues like a small gap around a vent or a loose piece of insulation are usually safe to address yourself. But anything tied to structural integrity, mold, or water intrusion is worth having assessed by professional crawl space inspection to determine the full extent of the problem, since what’s visible from the surface doesn’t always show how far an issue has spread.
Protect Your Crawl Space Before Small Issues Become Big Ones
A crawl space problem rarely starts big. It starts with a little extra humidity, a hairline crack, or a vent that’s been stuck shut for months, exactly the kind of thing this crawl space inspection checklist is built to catch early. Running through it twice a year takes less time than most weekend chores, and it’s one of the simplest habits you can build into protecting your home’s foundation long term.
If your inspection turns up something on the warning-sign list, talk to our crawl space repair team for a full professional assessment. We serve homeowners across Jacksonville, Gainesville, Ocala, St. Augustine, and Palm Coast for any crawl space repair, and we’ll help you figure out exactly what’s going on underneath your home and what it’ll take to fix it.
Frequently Asked Questions
What tools do I need to inspect my own crawl space?
A flashlight or headlamp, a notepad or your phone’s camera, and a basic moisture meter if you want a more precise reading. Gloves and a mask are worth wearing too, since you’re working in a tight space that’s often dusty throughout the crawl space area.
Can I inspect my crawl space myself, or do I need a professional?
A visual check twice a year is something most homeowners can do themselves using this checklist. A professional comes in once you’ve spotted something specific, like mold, structural cracks, or a positive radon test, since diagnosing how far a problem has spread usually requires specialized tools and experience.
How long does a crawl space inspection take?
A basic visual walkthrough using this checklist typically takes 20 to 30 minutes for an average-sized crawl space. A professional crawl space inspection takes longer since it includes moisture readings, structural assessment, and a full, detailed report.
Is radon testing really necessary for a Florida home?
Yes. Radon comes from the soil itself, not from any visible damage or moisture issue, so there’s no way to know your levels without testing. It’s a low-cost, low-effort step that’s easy to overlook simply because it doesn’t produce any visible warning signs.
What’s the difference between a crawl space inspection and crawl space encapsulation?
A professional crawl space inspection is an assessment that checks for moisture, pests, structural issues, and other warning signs. Encapsulation is one possible solution, sealing the crawl space with a vapor barrier and often a dehumidifier to control moisture long term. An inspection tells you whether encapsulation or another repair is actually needed.
What should I do if my inspection turns up a problem?
Note what you found and where it is, take a few photos if you can, and reach out to a crawl space professional for a full assessment. Catching crawl space issues early through a routine inspection is exactly what keeps a small fix from turning into a larger, more expensive repair.